Tuesday, January 28, 2014

Dinosaur Cake

Apologies, for not having a complete picture of the cake...Birthdays are fun, at the same time messy at home..Had a tough day y'day, baking and carving a Dino out of a round cake with 2 kids continuously chattering the background!! Somehow managed to complete this by around 8:30 PM (started at around 3 PM) and a happy b'day boy took it to his school today early morning.


Banana Bread


What will you do if you have got 2 big bunches of ripe banana (ethapazham) sitting in your kitchen, threatening to go from ripe to over-ripe to rotten within few days!! I was in complete dilemma the last 3-4 days, as my hubby who traveled to India came back with a really big bunch of plantains (lovingly packed my MIL). It is home grown, organic and all that stuff, which means you just can't throw it. While my hubby was away in India, I made a very relaxing trip to Lulu and had bought the week's grocery which included around 4 big bananas...I wasn't expecting him to come back with a 20 kg baggage full of fruits and vegetables from the backyard.


Since I had to use up all of those 11 really ripe bananas within few days, here is what I did...

Day 1 - I, along with my kids ate bananas as it is...3 gone
Day 2 - Made some pazham pori / banana fritters (post pending to be posted) - 3 gone
Day 3 - Made banana bread - 3 gone
Day 4 - Made pazham nirachathu / stuffed banana (pending post) - 2 gone

Hurray!! so I used up all of them without wasting even a li'l bit, and without my family getting bored of eating the same thing everyday..


Now coming to banana bread, I have made this n number of times before...but using Chiquita bananas. This is the first time I am using Kerala's own nethrakkaya for this...and it was super-duper delicious. Our home-taster (my son) gave a thumbs up and "Super" (which he rarely utters) after the first bite. This bread is slightly dense compared to the one using chiquitas, but the taste was incomparable. Above all its super-easy to make this. 


This is a very basic/flexible recipe, and you can make modifications as per things available in your kitchen, or as per your liking.


Ingredients

Very ripe (Kerala) banana - 3 (if using chiquitas, you'll need around 4)
All purpose flour - 1 cup
Whole wheat atta -1/2 cup (you can use only all purpose flour, or increase the amount of atta)
Sugar - 1 cup (I used Demarera sugar, you can use white, or soft brown or a mix of both)
Baking powder - 1 tsp
Butter - 1 stick / 100g, melted (you can use oil instead)
Salt - a pinch
Chocolate chips - 1/2 cup (optional)

Method

1. Pre-heat the oven to 180 degree Celsius
2. Prepare a 9 x 5" loaf tin (grease and dust with flour)
3. Prepare the dry ingredients. Sieve together the wheat flour, all purpose flour, baking powder, baking soda and salt, couple of times.
4. Melt butter in a sauce pan, and allow to cool.
5. Take the big jar of the mixer and add the chopped bananas. Puree it well in the mixie.
6. Now to the same jar, add the sugar and melted butter along with the banana puree and pulse of 3-4 times till the sugar, butter and banana are incorporated well.
7. Move the banana mixture into a bowl and slowly mix in the flour mixture until all are well incorporated.
8. Add half the amount of chocolate chips into the mixture and give a gentle mix. 
9. Pour the batter to the prepared tin and sprinkle rest of the chocolate chips on the top.
10. Bake in the pre-heated oven for about 40 min (this will depend on the size of your oven, so keep checking after about 35 min) or until an inserted toothpick comes out clean.


Carrot Rice with Challas

I am always in look out for quick one-bowl rice recipes, as my husband prefers home-cooked lunch and he has to leave home sharp at 6:45 in the morning for work...thanks to Dubai traffic. So you can imagine my kitchen on a normal day morning.. the breakfast, milk, tea, coffee need to be ready 6:15 am and lunch box to be ready by 6:45. I also have to pack 2 tiffin boxes for the kiddos..and no junk items allowed in the school. So that's a lot of work in the morning, but atleast satisfied that the family is eating healthy stuff.


The carrot rice is one easy recipe, which I accidentally discovered one day when I had to prepare lunch in 15 min and all I had as curry/sidedish was a carrot thoran. So I just cooked some white rice and mixed with the thoran. From then on, carrot rice has been my trusted partner on very busy mornings. You can have it along with Challas or simply curd and pickle. Its simple, yet delicious and healthy. Here goes the recipe.


Ingredients

Carrot - 1 big, chopped fine (I just popped it into the food processor, and pulsed twice)
Big onion - 1 medium, finely chopped
Green chilly - 2, finely chopped
Garlic - 1 clove, finely chopped
Ginger - 1 inch piece, finely chopped
(Again, I used food processor for chopping onion, chilly, garlic and ginger..all will be done in a matter of seconds!!)
Curry leaves, parsely - optional

Basmati rice / Jeerakasala rice - 2 cups, soaked in water for 10 minutes and drained
Hot water / water - 4 cups

Oil - 1 tbsp
Mustard seeds - 1/2 tsp


Method

1. Heat oil in a deep bottom heavy pan.
2. Crackle the mustard.
3. Add the chopped onion, ginger, garlic, chillies. Saute them till the raw smell goes.
4. Add the chopped carrots. Saute for couple of minutes.
5. At this point, if you want to spice up your dish, you can add chilly powder.
6. Add 4 cups of water, and allow it to boil
7. Add salt.
8. Once water boils, add the drained rice, stir gently and cover and cook on the lowest flame. The rice should be cooked in about 10-15 minutes' time depending on the variety of rice you are using and also on the soaking time.
9. Once cooked, and all the water evaporated, remove the lid and fluff up the rice with a fork. Do not close the lid fully as it will over cook.
Your healthy, delicious carrot rice is ready!!


Challas

If you haven't tastes this salad yet, you are definitely missing out on something!! Trust me..you really are missing out!! It is such a tasty and healthy salad which can never go wrong. Try it for yourself and see.

I think this was authentic salad used Syrian Christians long back, before the salad with curd took over. As per our tradition, we do not use curd along with meat or fish dishes. So in earlier days, for weddings and other functions, this challas was served along with meat cutlets.


Ingredients

Big onion - 1 small, sliced
Green chilly - 1, slit
Thick coconut milk - 1 cup
Vinegar - 1 tbsp
Salt - as per taste
Mashed potato - 2 tbsp (optional)
Grated carrot - 1 tbsp (optional)

Method

Take the sliced onion in a bowl and add salt and vinegar. Mix up these three thoroughly with your hand and squeeze the juice out. So that will leave you just with onions, with all unwanted juices removed. Now add the thick (yes, it should be really thick to get the authentic taste..I used 2 cups of loosely pasked grated coconut to get 1 cup of milk) coconut milk and add salt if more is needed.
Add the slit green chilly.
If you want to make the salad little more thick, you can add the mashed potato.
Also if you want to make it a bit more colourful, add some grated carrots.

There you are!! Enjoy your meal...

Sunday, January 26, 2014

Uzhunnu Vada / Urid dal vada

Uzhunnu vada doesn't need any special mention among south indians. It is much enjoyed by almost any Indian. This is the second time I am trying this out, and irrespective of any number of vadas I make, they immediately vanish. Thanks to my ever hungry husband and son. The vadas are super-easy to make except for the shaping and dropping-to-oil part, which I am yet to master. Luckily I could get quite a few in shape this time, however I am still contemplating on whether or not to buy a vada-maker.


Ingredients

Urid dal - 1 cup (soak for 2 hrs)
Big onion - 1 medium, chopped finely
Green chilly - 1, chopped
Ginger - 1/2 inch piece, chopped finely
Salt - as per taste
Whole peppercorns - 1 tsp (optional)
Curry leaves - 3-4 leaves, chopped

Oil - for frying

Breakfast fit for a King!
Method

Grind the urid dal in the big jar of mixer adding very little water (You shouldn't use more than 1/4 cup water. Use as much less as possible).
Remove the ground paste to a bowl, and add salt.
Mix in the chopped onions, green chilly, ginger, curry leaves and pepper corns.


Heat oil in a kadai.
Wet both your palms with water. Take a small quantity of dal paste with your right hand and place it on the left palm. Dip your right fore-finger again in water and make a hole with this finger on the dal paste which is in the left hand. When the oil is hot enough (it should be really hot), gently slide the shaped vada into the oil. Do not overcrowd the pot. Cook on a medium - high heat till the vadas turn crisp and brown on both sides.


Wednesday, January 22, 2014

Chicken Pizza

Pizza is one of the "global" comfort food, enjoyed by almost any nationality. Not blabbering too much about its goodness (we all know it anyway), I am straightaway going into the recipe. 

I am mainly giving here the recipe of the pizza base / dough. Rest of the stuff (pizza sauce & toppings) should be according to your liking and depending on whatever is available in your pantry.


Ingredients - Pizza Dough
Yield - 4 small size pizzas or 2 medium size pizzas

All purpose flour - 1 1/2 cups (If you are using All purpose flour alone, it should be 3 1/2 cups
Whole wheat flour - 2 cups (yeah, I like whole wheat is almost anything that I prepare. It gives the dish an earthy feeling, and a lot more crunchiness compared to APF alone).
Oregano - 1 tsp
Instant yeast - 2 1/4 tbsp
Warm water - 1 cup
Olive oil - 3 tbsp
Salt - approx 1 tbsp (I didnt really measure :))
Sugar - 1 tbsp

Method

1. Take 1/2 cup of warm water (keep aside the other half cup water) and dissolve the sugar in it.
2. Sprinkle yeast over this water and keep it aside undisturbed till it becomes frothy. It may take around 5 to 8 minutes. If water isn't warm enough, it might take longer. 
3. Place the flours & oregano in the food processor bowl, with dough hook on.
4. Switch on the processor (low speed), and while the flour is getting mixed up, add the salt and olive oil. 
5. Add the yeast - water mixture, increase the speed to medium and knead the dough for approximately 5 minutes
6. Take the remaining half cup of water and keep adding 1 tbsp to the dough, while its kneading.
7. Continue the process until you get a smooth, non-sticky dough. Add more water if needed. 
8. Smear some olive oil in the bowl and on the dough. Cover the bowl with a cling film and place the bowl in a warm place for almost an hour for the dough to rise and double its size.


While the dough is rising, you can prepare your pizza sauce and topping. Here is what I used.

Pizza sauce

I was too lazy to prepare the sauce from scratch. So I used a mix of below sauces.

Tomato ketchup - 2 tbsp
Nandos Lemon and Herb sauce - 1 tbsp (to make the sauce a bit tangy)
Nandos Peri - Peri (medium hot) sauce - 1 tbsp (to spice it up a bit)

Toppings

Big onions - 2 medium, cut into chunks
Sausages , cut - 1 cup
Carrot - 1 small, sliced
Capsicum - 1 small, cut into chunks
Pork (had to finish off the pork left in freezer) - 1 cup (cooked and slightly roasted with li'l salt and chilly powder)
Basil leaves  - 2
Parsely - 1 tsp
Oregano - 1/2 tsp

I slightly sauteed the all the above (except pork) with very little olive oil to get rid of its rawness.

Pizza (contd)

9. Pre-heat the oven to 220 deg atleast for 30 min.
10. Once the dough has doubled, punch it down and divide them into 4 balls. 
11. Take one ball at a time, flatten them using a rolling pin (you'll need to dust it with some all purpose flour) or with hand. Try to make the center part thin and slightly thick towards the edges.


12. My oven could handle only 2 small size pizzas at a time. Since I don't have a pizza stone, I arranged the flattened bases on an aluminium foil. Cover and keep it in a warm place for approx 30 minutes.
13. After 30 minutes, they would have risen slightly. Place 1 tbsp of pizza sauce on top and arrange the toppings. Top it up with 2 tbsp of grated mozzarella cheese.
14. Place in the oven and bake for 30 minutes, until the cheese has melted and browned slightly. 
15. Take it out, slice them up and enjoy a sumptuous meal.

Monday, January 20, 2014

Stuffed Buns


By the time you start baking buns / breads at home, you have reached a certain milestone in your culinary journey. You'd have started off the journey with chai and egg omlette, slowly moved onto making thorans, stir fries..then onto to fish, chicken..and so on. 

I remember I used to like cooking even during school days, but my grandmom wouldn't allow me inside the kitchen for a long time. So my kitchen experience those days were limited to grating coconut, stirring in between, and tasting meat & fish dishes during lent / advent days. Sooner I became happy with this limited kitchen contact...until I reached Bangalore for my first job. I was staying there as a paying guest. Initial few days went by, where I enjoyed breakfast and lunch from office canteen and dinner from nearby restaurants. Soon the kannadiga food began to be boring for me, and I craved for some Kerala dishes. There started my culinary journey, with just one small cooker, one pot/kadai, one plate and couple of spoons. Since it was a kitchen shared with many inmates, my experiments were limited to vegetarian side dishes along with Kerala motta rice (I specifically bought the cooker for that). Even after I got married and settled in Dubai, vegetarian dishes were my forte, except for the occasional pressure cooker biriyani. I can safely say that it was after my son was born (6 years back) that I really started liking cooking / baking. I had a wonderful maid then, who was an excellent cook, and from her I learnt quite a few tricks and tips of cooking. I still remember that I wanted to bake the birthday cake for my son's first birthday, and one whole night I spent trying to do the icing. It was a flop, and my husband had to run on the eleventh hour to get a birthday cake. From then on, many experiments and flops later, here I am, presenting before you the super soft, delicious buns.  


Ingredients - for buns


All purpose flour - 1 1/2 cups
Whole wheat atta - 1 1/2 cups (I used Ashirvad atta)
Instant yeast - 1 1/2 tbsp 
Milk - 1/2 cup
Water - 1/2 cup
Sugar - 2 tbsp
Salt - 2 tsp
Olive oil - 6 tbsp

For topping / milkwash

Milk - 2 tbsp
White sesame seeds - 1 tbsp

Method

Warm the milk until its lukewarm. Dissolve the sugar in it.
Sprinkle the yeast over milk and keep it aside, undisturbed. It will take around 10 - 15 min for the yeast to get frothy. Wait till its really frothy, the softness of your bun depends on this and on the quality of your yeast. 

Measure and add both the flours to the food processor bowl. Attach dough hook to the food processor.
Mix in the salt and olive oil. 
Turn on the food processor and knead in medium speed.
Add the yeast mixture, keep kneading, approx for a minute.
Add 1/4 cup water, knead for couple of minutes more. 
If you need more water add rest of the water. You should aim to get a smooth, non-sticky dough.
Keep adding water (I had to add around 3 tbsp more water) until you get the right dough consistency. Knead at high speed for about 5 minutes.
Cover the bowl containing dough with a clean cloth or cling film.
Let it rest for about 1 hr, for the dough to rise and double in size.
Once doubled, punch down the dough and make small balls out of it. Keep them neatly arranged on a baking tray. After 10 minutes, they would slightly risen. 
Take each ball, flatten them a bit, place the filling of your choice, close the dough and roll on your palm to get a round shape without any creases.
Place them on the baking tray, cover with a cloth / cling film and wait for another 45 min.
Preheat the oven to 180 degrees. 
Dip a pastry brush in milk and and brush over the buns. Sprinkle some sesame seeds
Place the tray in the oven and bake for about 30 min or until the top of the bun has become brown and crusty. In my cooking range, it took me less than 25 minutes for the perfectly baked buns.

The filling could be anything - chicken, beef, fish or vegetable masala. I chose vegetable filling as I didnt have meat or fish with me. Below is a quick recipe of the same.

Vegetable Filling

Potato - 1 medium
Carrot - 1 medium
Beans - 4
Big onion - 1 small, finely chopped
Green chilly - 1, chopped
Garlic - 1 clove, finely chopped


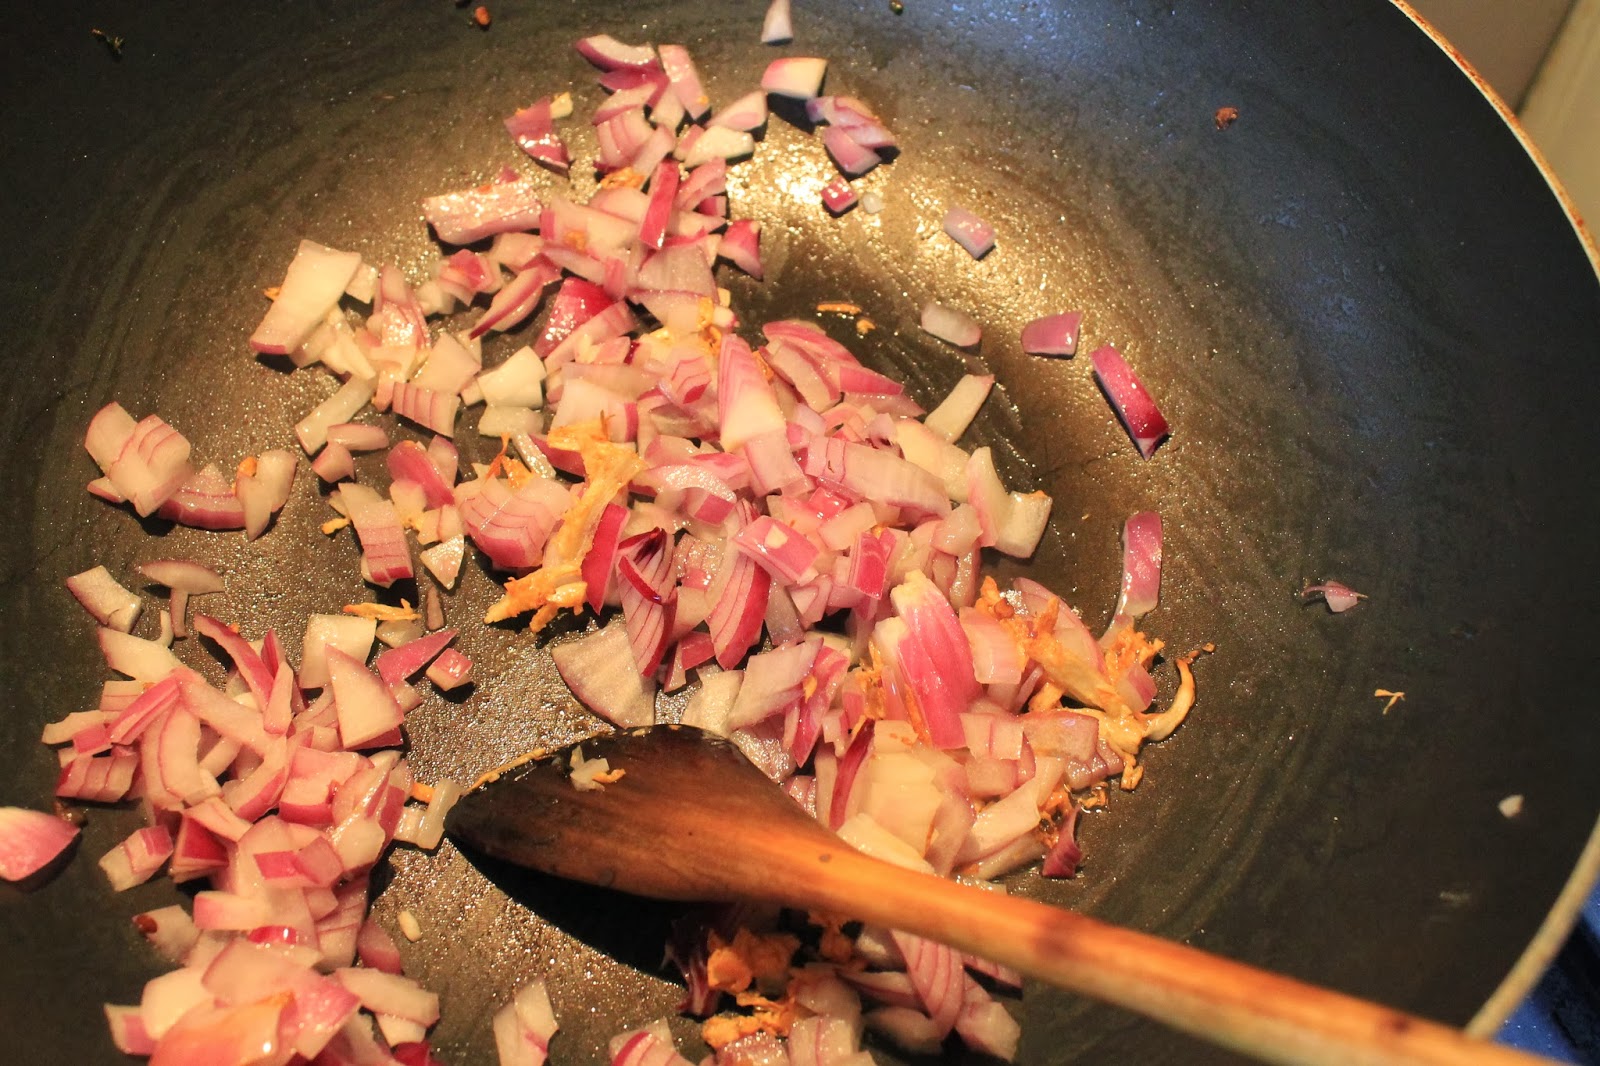
Boil the veggies. In a kadai, add 1 tbsp oil and saute the onion, chilly and garlic. When they are translucent, add the boiled veggies and gently combine. Sprinkle salt and pepper as per your taste. Switch off the stove when the mixture is somewhat dry.

Saturday, January 18, 2014

Sunday, January 12, 2014

Tomato & Basil Pasta

Pasta is fast becoming a hot favorite on the dinner table...not only with the food-lover; even the fussy eater licks her plate clean if pasta is served. And she prefers it for breakfast too. So my life has become slightly better as this particular pasta preparation is a very quick and easy one.


Ingredients

Penne pasta -1 packet (300 gm)
Tomato - 2 big, chopped finely
Crushed garlic - 1 tsp
Chilly flakes - 1 tsp (as per tolerance)
Big onion - 1 big, chopped finely
Parsely - 1 tsp, chopped
Basil - 2-3 leaves , if using fresh or 1/2 tsp dried
Thyme - 1 small strand
Parmesan cheese, grated - as per taste
Salt - as per taste
Pepper powder - 1 tsp
Cooking cream - 2 tbsp
Olive oil - 1 tbsp

Method

In a pan, add the olive oil. When hot, add the crushed garlic and saute for a while. Then add chopped onions and saute till they are translucent. Add the chopped tomatoes and herbs. Saute till the tomatoes turn mushy. Add the chilly flakes and needed salt. Sprinkle the pepper powder too. Saute for a while. Now add 1/4 cup water and cook for about 5 min, closing the lid. When whole thing is cooked well and mushy enough, open the lid and add the cooking cream. Stir well and switch off the stove. 


15 min before the dinner time, cook pasta in enough water. Add salt as directed in the pack. When the pasta is cooked well, drain water and add pasta to the tomato mixture (turn on the stove). Mix well. Add Parmesan cheese, thoroughly mix and serve hot.


Homemade Vegetable Burger

There is a certain amount of satisfaction that comes from preparing "junk food" at home...and if you can make it healthy, nothing can really beat it. Our recent addition to breakfast menu is home-made veggie burger. Its easy and pretty healthy too. We all loved it alike.


Herbed Buns

All purpose flour - 1 1/2 cups
Wheat flour (I used Ashirvad) - 1 1/2 cups
Salt - 1 tsp
Herb mixture (I used dried oregano - 1/2 tsp, fresh basil and thyme - 1 1/2 tsp) - 2 tsp
Basil

Thyme


Instant yeast - 3/4 tsp
Sugar - 1 tsp
Lukewarm water - 1 1/4 cups
Olive oil - 1 tbsp
Sesame seeds - as needed


Method

In a small bowl, add half cup water, sugar and yeast and keep it aside, undisturbed for about 10 minutes. It will become frothy after sometime. If it doesn't, wait for some more time or try to keep it in a warmer place.

Sieve the flours and add it to the food processor bowl. Add in the salt. Attach dough hook to the machine and beat at a low speed for about half minute. Slowly add in the yeast mixture, olive oil, remaining water and herb mixture and beat at medium speed for about 5 min. You need to be careful about adding water, add it slowly to get a smooth, soft dough. If you are kneading with hand, then add all the ingredients in a wide mouthed bowl and knead it throroughly for about 10 minutes.

Take the dough out of the bowl, now slightly oil this bowl and keep the dough back and allow it to rest in it. Cover with a cling film and keep it in a warm place for about an hour till the dough doubles in size. Punch down the dough and form small balls out it. Place them on a baking tray, giving enough space in between for the dough to rise again. Cover with oiled cling film and keep in a warm place to allow to rise again. This will take another 30 min.

Brush the top of the burger buns with little milk using a pastry brush and sprinkle some sesame seeds on it. After the dough has risen, place the baking tray in a pre-heated oven (180 deg Celsius) and bake for about 30 min.

Veg Patties


Beetroot - 1 medium
Potato - 1 medium
Big onion - 1 small
Green chilly - 1
Pepper powder - 1/2 tsp (as per your tolerance level)
Salt - as needed
Oil - 1 tbsp
Bread crumbs - about 3 tbsp

Chop finely the onions and green chilly.
Wash and peel the beetroot and potato. Cut them into chunks and boil them separately in water (This is because beets take more time to cook than the potato). Once cooked, drain the water  (ensure that you remove all the water!!) and mash (using a masher or fork) both potato and beetroot.
Heat a kadai, and add oil. Once hot, add the finely chopped onion and chilly. Saute till they become translucent. Now add the mashed roots and mix well. Sprinkle salt and pepper. Saute till all of it comes together. Switch off the stove.
Wait for it to cool down a bit. Sprinkle bread crumbs and mix till the entire mass dries up a bit. Now take small quantity of the mixture, place it on your palm and shape into round cutlets.


You can freeze them, if you don't intend to use it immediately. If freezes well for upto a week.

Once you are done with shaping, heat a non-stick pan and grease it slightly with oil. Place the cutlets on it and cook till both the sides turn crisp. You can deep fry them in oil too, but you really dont need to do that since all the ingredients are already thoroughly cooked.

Assembling the burger

Cut the burger bun into half.
Smear some mayonnaise or your favorite spread.
Place a leaf of lettuce (optional, I didn't have and hence omitted)
Place a thin round slice of tomato (optional)
Place a veg cutlet on top of it.
Cover with the other half of bun.


Crunch!! and enjoy!!